WebXR Export
Getting Started
In this page, we have a step by step guide on how to build a project from the Sample Scene.
[!IMPORTANT]
Since version 0.20.0 of WebXR Export, there’s no support for Built-in Render Pipeline, use URP.Since version 0.22.0 of WebXR Export, Built-in Render Pipeline can be used by disabling the Display Submodule in the WebXR Settings and using the BiRP Samples.
Let’s build some WebXR stuff
Create a new Unity Project (2020.3.6f1 and up). Switch platform to WebGL.
Import WebXR Export and WebXR Interactions packages from OpenUPM.


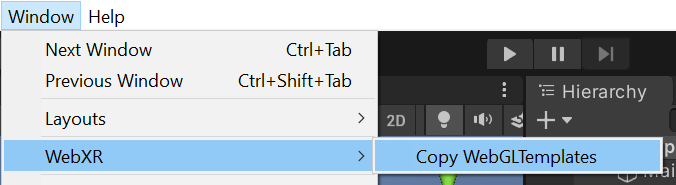
Once packages are imported, Go to Window > WebXR > Copy WebGLTemplates.
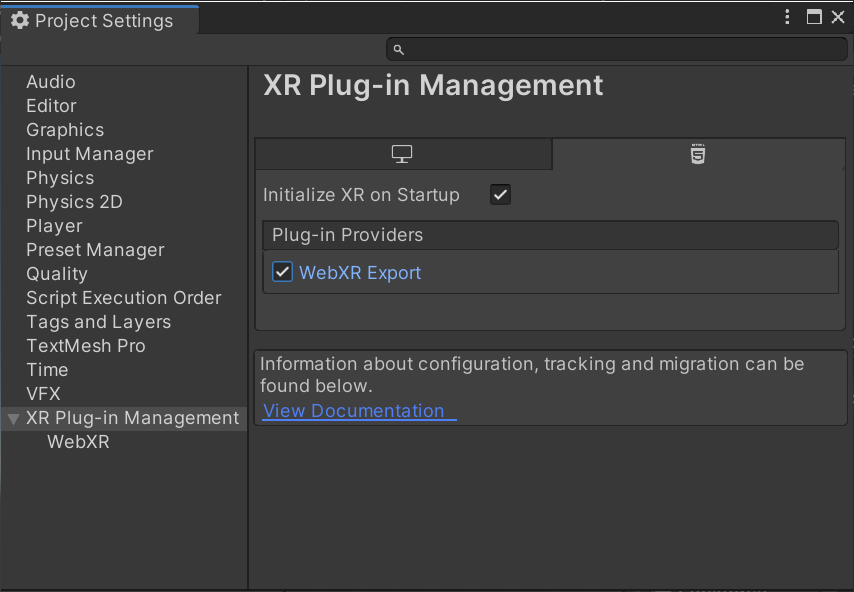
After WebGLTemplates are in the Assets folder, Open the XR Plug-in Management tab in the Project Settings window and select the WebXR Export plug-in provider.
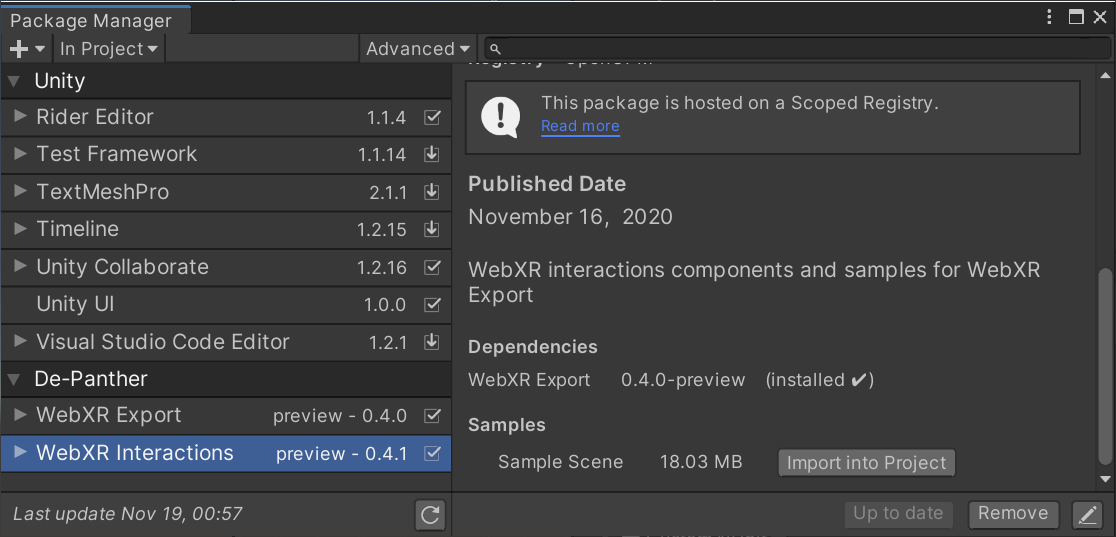
Now you can import the Sample Scene from Window > Package Manager > WebXR Interactions > Sample Scene > Import into Project.
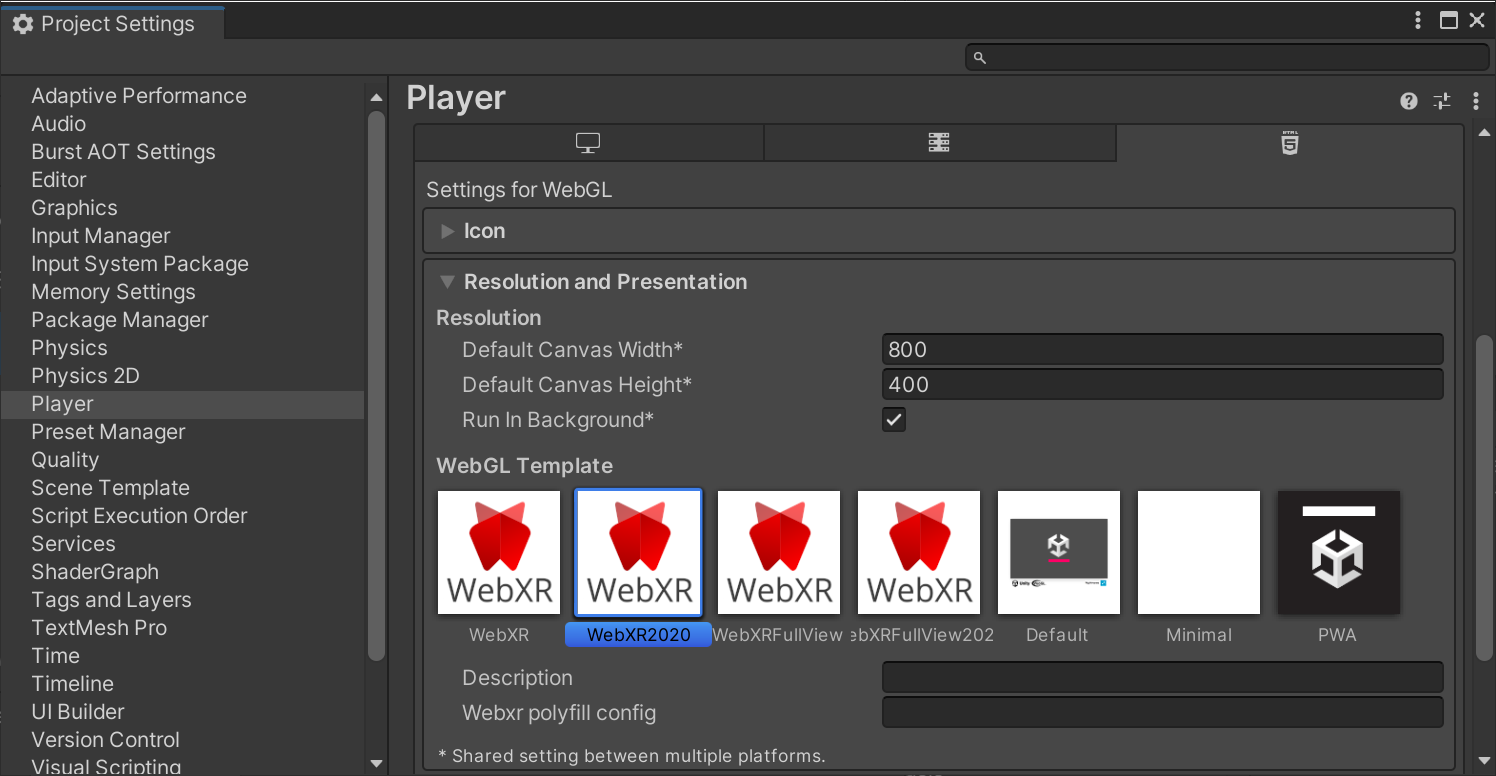
In Project Settings > Player > Resolution and Presentation, select WebXR as the WebGL Template. (If you are using Unity 2020.x and up you should use the 2020 templates)
[!NOTE]
In WebXR Export version 0.20.0 old templates removed, now there are only 2020 templates.
Now you can build the project.
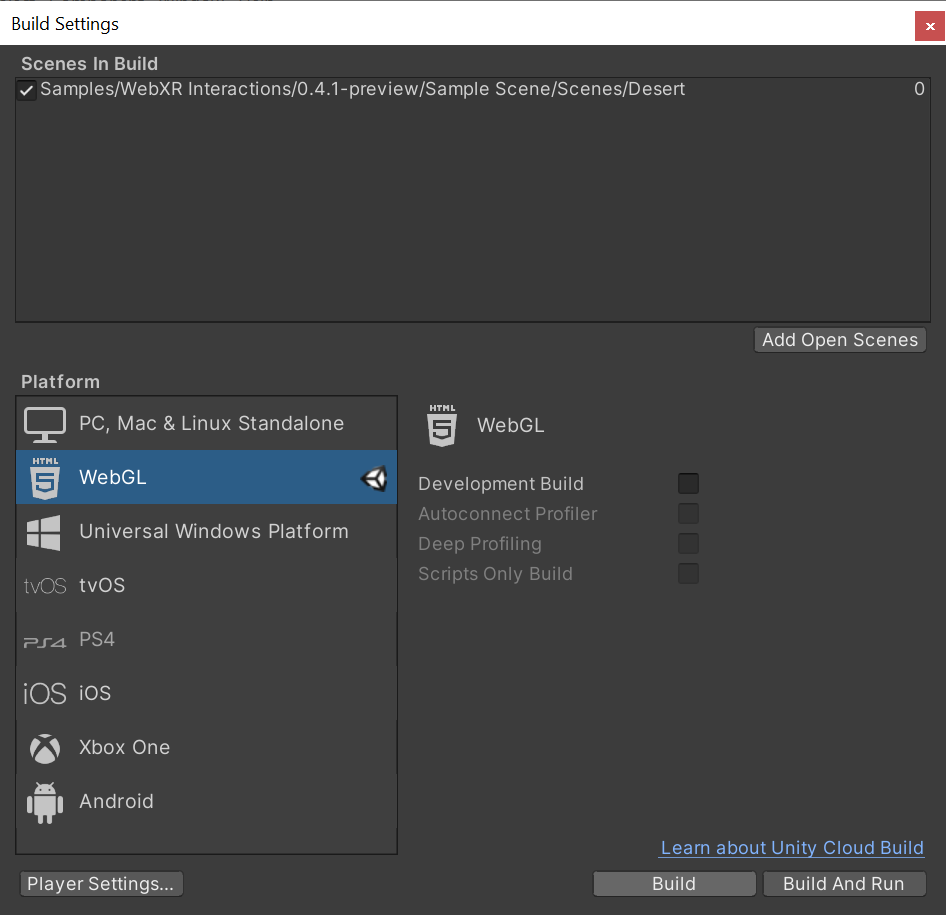
WebXR requires a secure context (HTTPS server or localhost URL). Make sure to build the project from Build Settings > Build. Unity’s Build And Run server use HTTP. Run the build on your own HTTPS server.
[!NOTE]
Use HTTPS server.
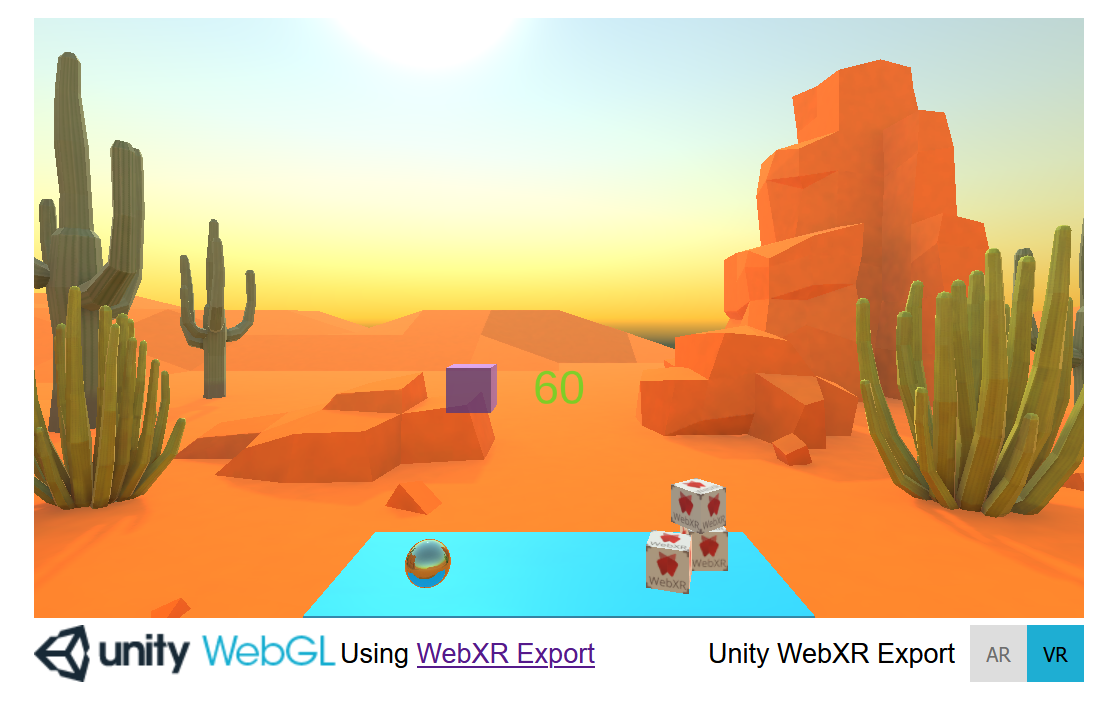
That’s it.